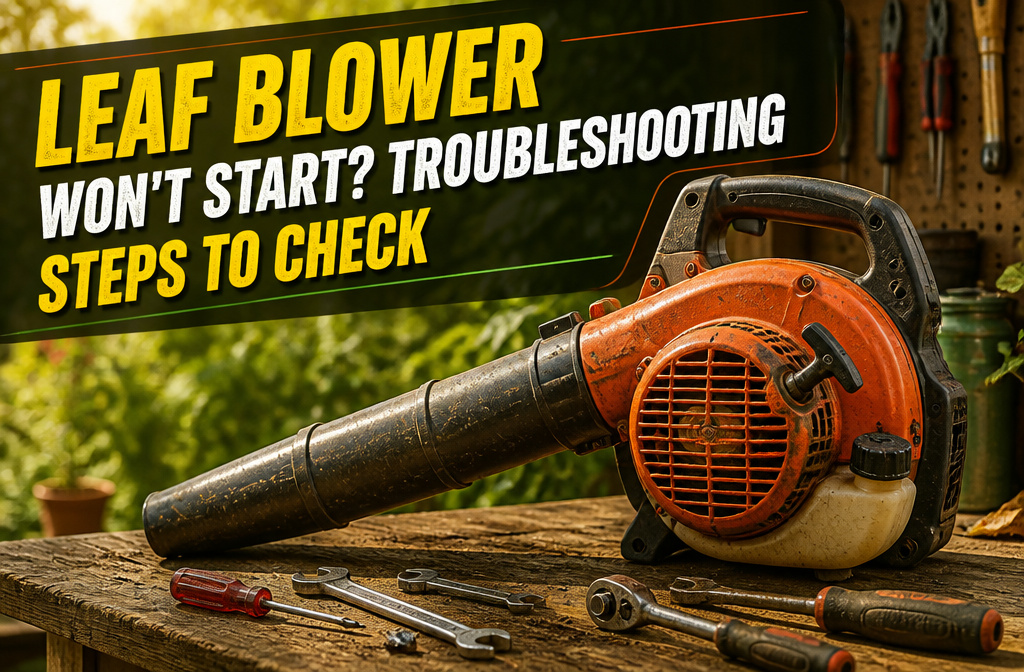
Most leaf blowers that won’t start suffer from one of nine specific failures, and stale fuel left 30 days or longer is behind about half of them. You check each system in order; fuel first, then spark, then ignition coils and recoil springs that spin uselessly when their springs snap clean through.
Why Your Leaf Blower Won’t Start
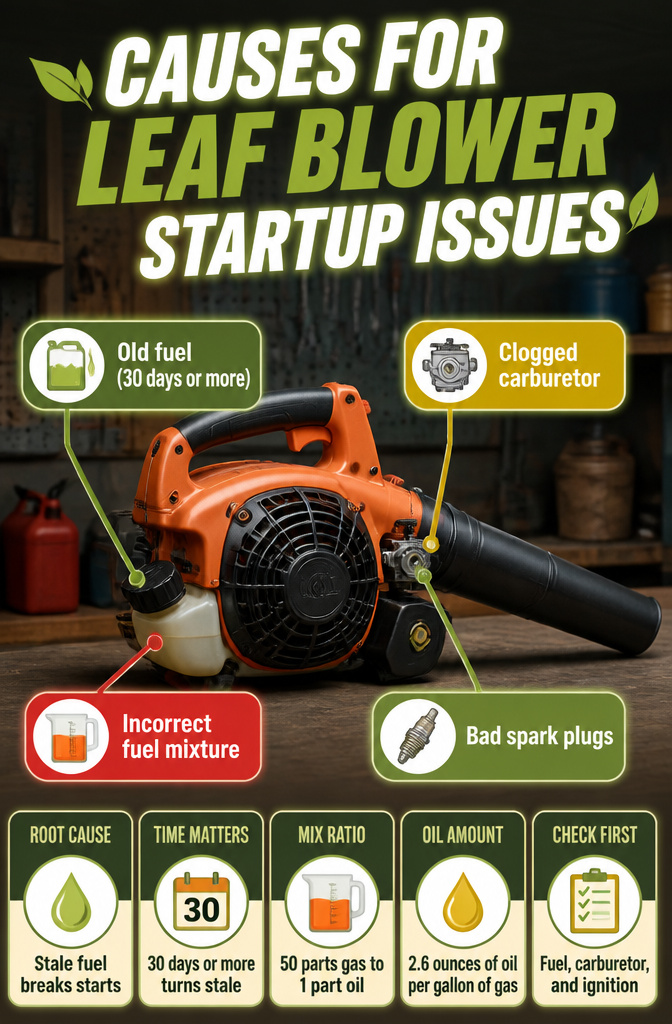
Old fuel sits at the root of most starting problems. Gas left in the tank for 30 days or more turns stale; left six months, it becomes thick sludge that clogs passages and keeps the engine from firing. A clogged carburetor follows close behind, gummed up by that same degraded fuel so it cannot mix air and fuel in the ratio the engine needs. Bad spark plugs round out the usual trio.
"Leftover fuel in your leaf blower is one of the primary reasons a leaf blower won’t start. Gas left in the tank for 30 days or more can deteriorate… If left for 6 months or more, the gasoline can turn into a thick sludge."
— Bob Vila
For two-stroke engines, the fuel itself must be mixed right: 50 parts gas to 1 part oil, or roughly 2.6 ounces of oil per gallon of gas. Get that ratio wrong and the engine may not start even with fresh fuel. These three systems, fuel, carburetor, and ignition, are where to look first before moving through each check in turn.
1. Check the Fuel
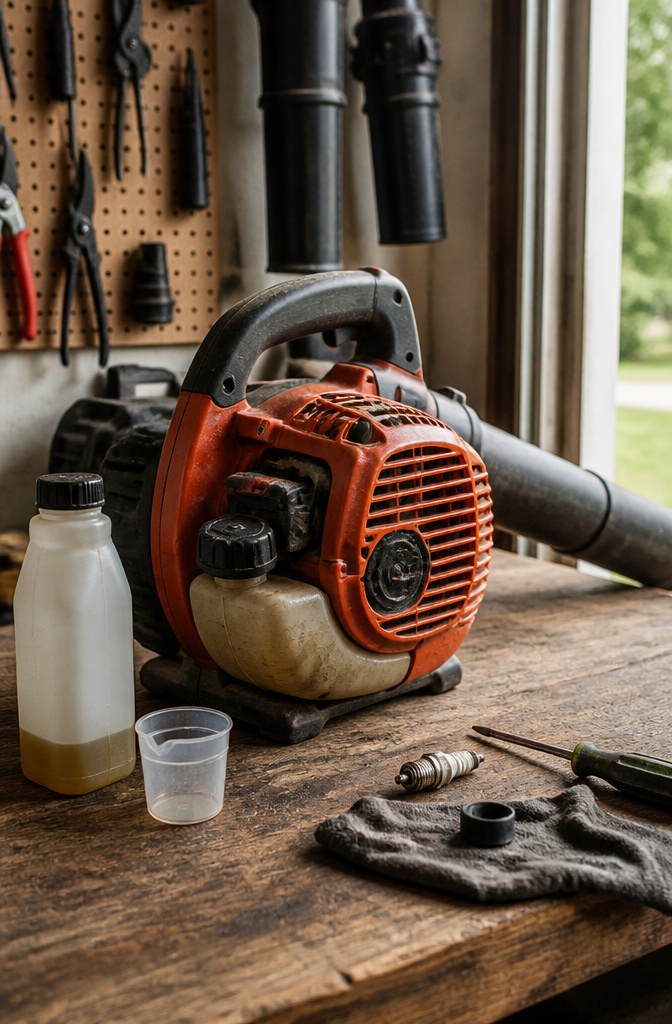
Stale fuel is the first thing to suspect when a leaf blower won’t start. Gas left in the tank for 30 days or more begins to deteriorate, and after six months it can turn into a thick sludge that gums up the entire system. Two-stroke engines need the right mix too: 50 parts gas to 1 part oil, which works out to about 2.6 ounces of oil per gallon of gas. Get that ratio wrong and the engine simply will not fire.
If your blower has been sitting, drain the tank completely and check for any gunk or debris inside before adding fresh fuel. For storage, a fuel stabilizer keeps gas usable longer, especially if you only run your blower a few times a year. It is cheaper to treat the fuel than to clean or replace a carburetor later.
2. Inspect the Spark Plug
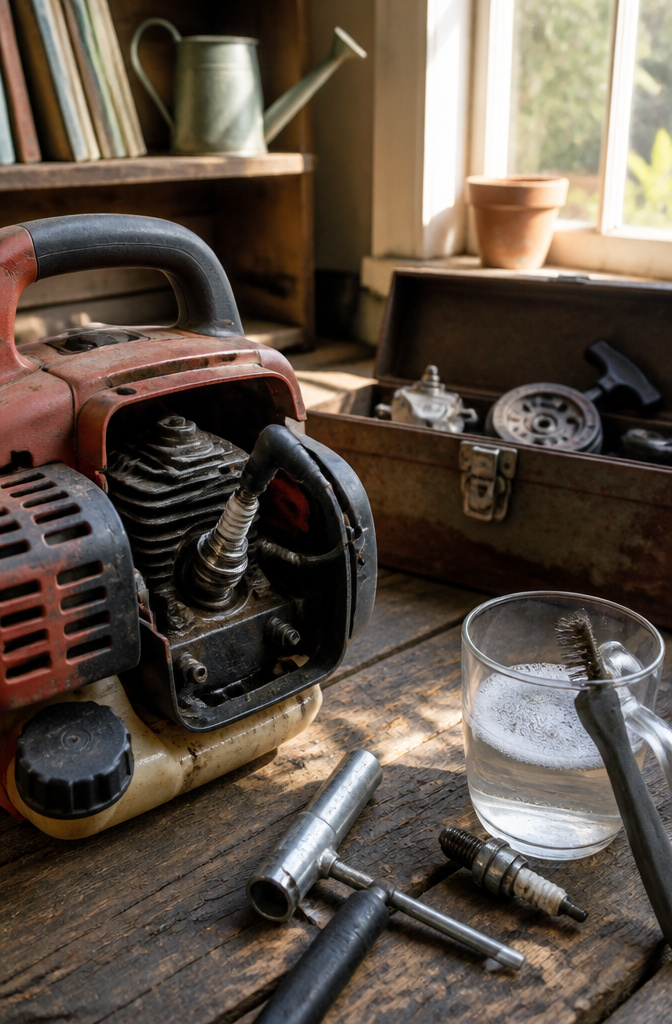
A fouled spark plug is the most common reason a gas leaf blower refuses to start, and checking it takes about five minutes once you locate it under the rubber cap on top of the engine. Pull the wire, loosen the plug with a spark plug wrench, and look for what you’re actually dealing with: heavy carbon buildup, cracks in the porcelain, or electrodes worn down past usefulness.
Cleaning the electrode with a wire brush can get you through an afternoon if the plug is only lightly soiled, but replacement is the faster fix and cheap enough that I keep a spare on hand. Before threading in a new one, check the gap with a gap tool: 0.025 inch is the spec that shows up across every manual I’ve opened. Thread it in by hand to avoid cross-threading, snug it down, reconnect the wire, and you’re set.
Most sources suggest swapping the plug annually as seasonal maintenance. That sounds frequent until you’ve spent twenty minutes pulling a starter rope on a cold morning because last year’s plug finally gave out.
3. Examine the Air Filter
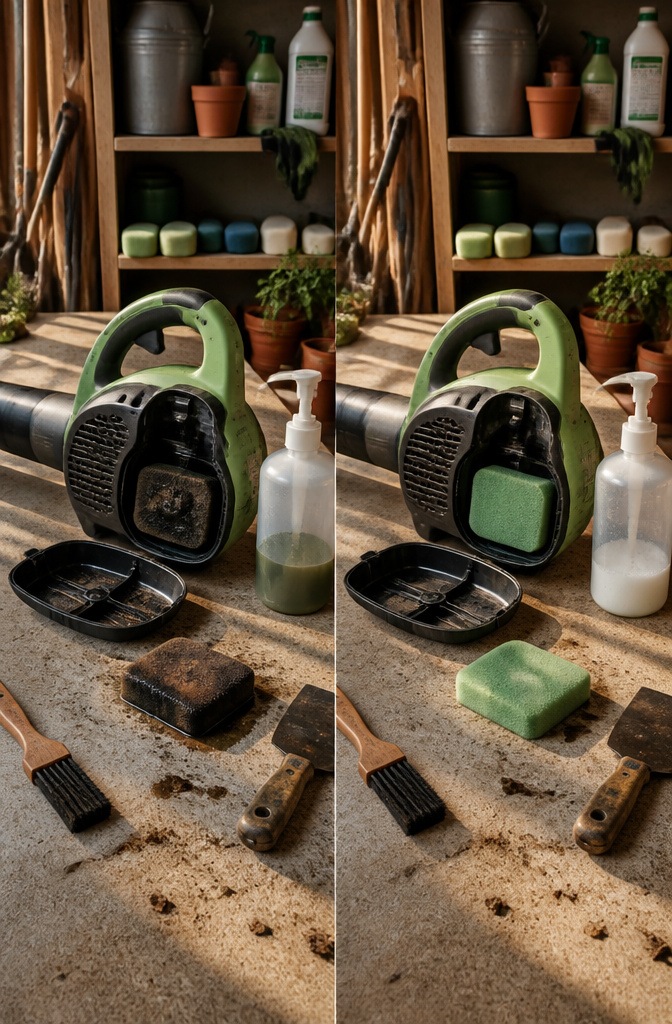
A clogged air filter starves the engine of oxygen, which makes starting hard or kills the engine right after it catches. Leaf blowers move huge volumes of air, so the filter loads up with dust and debris faster than you might expect.
The filter sits in a small plastic compartment, usually on the side of the blower. Pop the cover off and pull the filter out. If it is paper and coated with grime, replace it; paper filters do not wash clean. If it is foam, wash it in soapy water, squeeze it out, and let it dry completely before reinstalling. A damp filter traps more debris and blocks airflow worse than a dirty dry one.
Check the filter once a year at minimum, or sooner if the blower starts running rough. Clean filters cost little and prevent the kind of restricted airflow that turns a five-minute job into an afternoon of pulling the starter cord.
4. Check the Carburetor
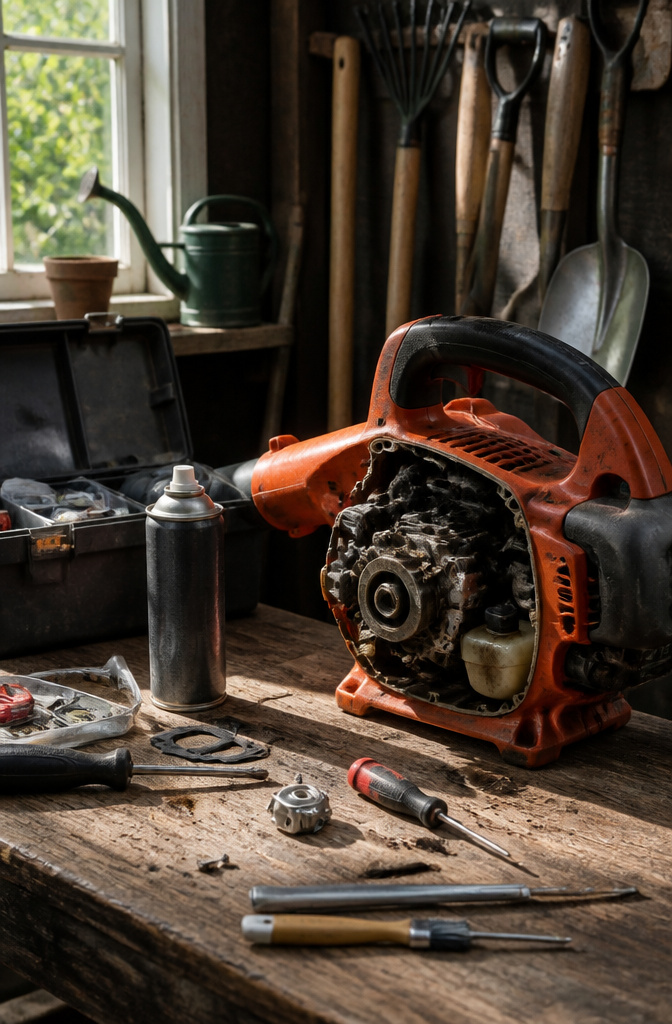
Stale fuel leaves behind a gummy residue that can clog the tiny jets inside a carburetor, choking off the precise mix of air and gas the engine needs to fire. The blower may sputter and die, or it might only run when you spray starter fluid into the intake, then quit again. Spray carburetor cleaner into the carb ports first and see if that restores fuel flow. If the engine still won’t keep running after that, the passages are probably blocked deeper inside. At that point you face a choice: buy a rebuild kit and replace the worn gaskets and diaphragms, or install a whole new carburetor. For a machine you picked up used or let sit for two seasons, a replacement carb often costs little more than the kit and saves the headache of tiny parts that never seat quite right again. Either way, drain the old fuel first and mix fresh gas and oil to the blower’s specs so you don’t repeat the same clog six weeks later.
5. Inspect the Fuel Filter
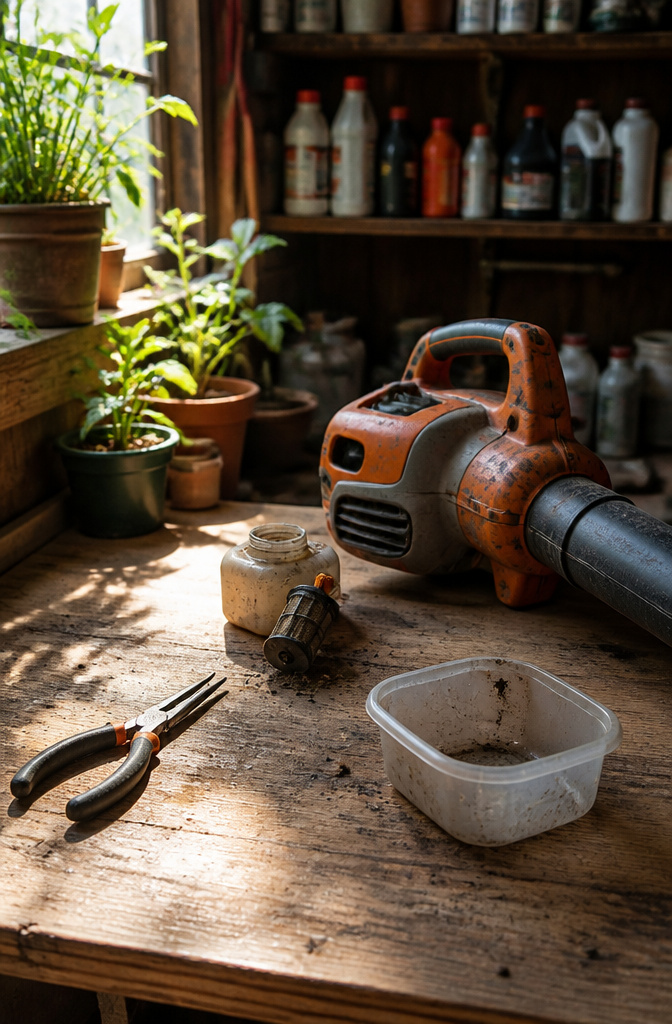
A clogged fuel filter will stop fuel from reaching the engine entirely, which is why a gas blower turns over but never catches. The filter sits inside the fuel tank, attached to the fuel line, and after a season or two of use it can plug up with debris or varnish from old gas.
Pull the fuel line free with needle-nose pliers and inspect the filter. If it looks dirty or you can see buildup inside, replace it rather than clean it. Filters are cheap, and a fresh one guarantees clean flow to the carburetor. Snap the fuel line back on firmly; a loose connection here will leave you puzzling over the same no-start symptom next weekend.
6. Clean the Spark Arrestor
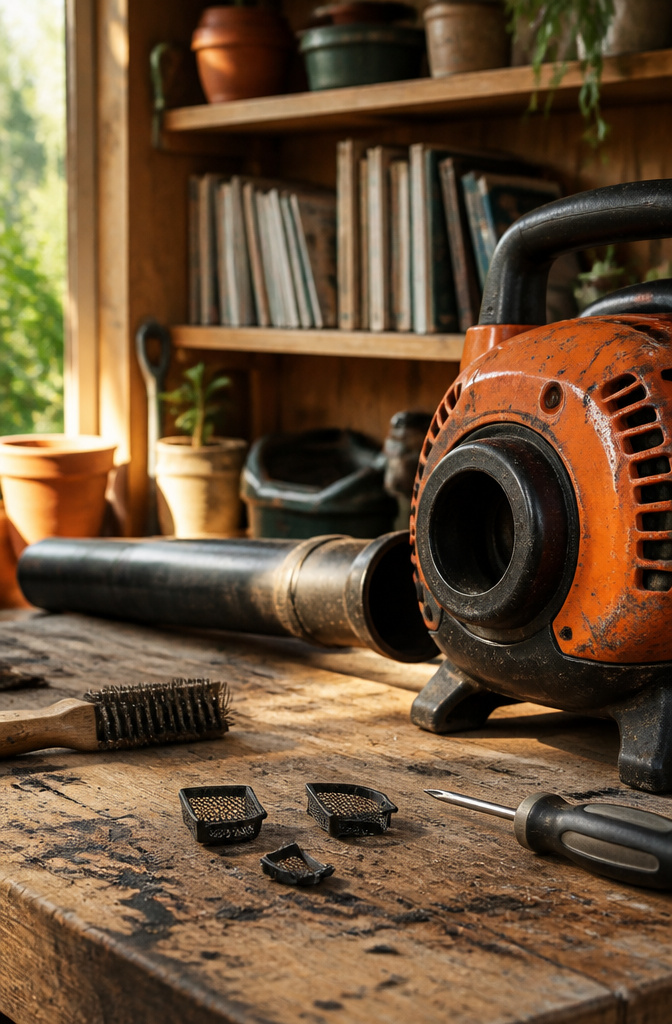
The spark arrestor sits inside the muffler, usually on the side or front of the engine, and it is one of the most commonly overlooked parts when a leaf blower won’t start. This small screen keeps sparks and debris from exiting the exhaust, but over time it collects soot and carbon until the engine can no longer breathe properly. When that happens, the blower may run rough or refuse to start entirely.
Removing the screen takes only a screwdriver or a clamp, depending on how your muffler is built. Once it is out, scrub it with a wire brush until the mesh is clear. If the buildup has baked on too hard or the screen is damaged, replacement is the safer bet. Some owners try heating the screen to burn off carbon, though that calls for tools and comfort with high heat that not everyone has. For most of us, a wire brush and a spare screen on hand is the practical route.
7. Check the Rewind Spring
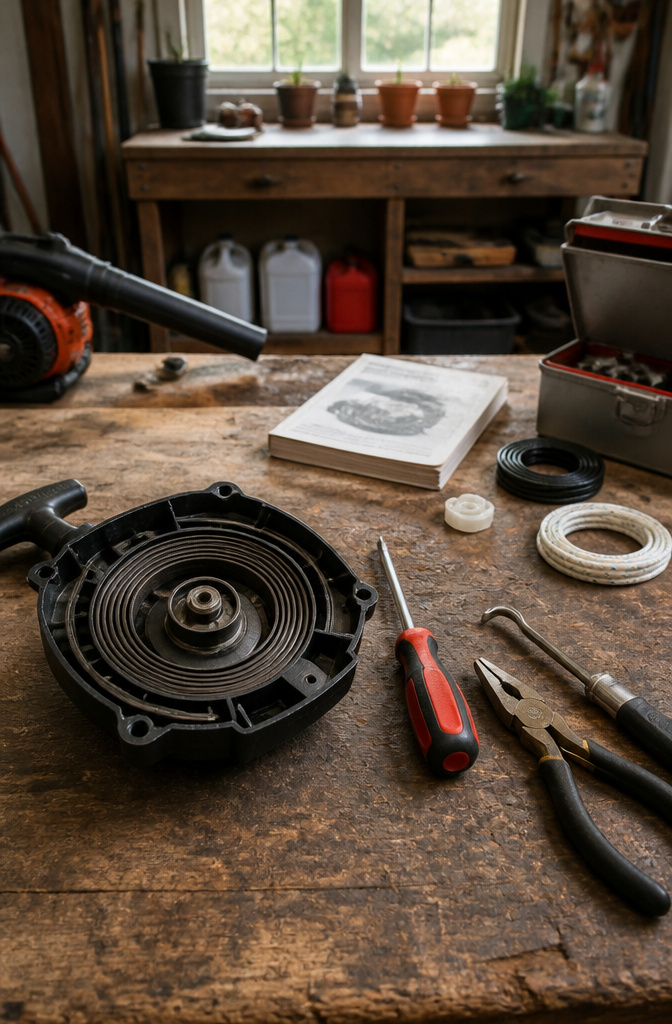
A broken rewind spring stops the pull-start from engaging entirely. The spring sits inside the recoil housing and does one job: it pulls the starter rope back onto the pulley after each pull. When it snaps, the rope just lies there loose, and the engine never turns over.
Take the cover off the rewind assembly and look at the spring directly. A break is usually obvious, a clean gap or a kink where the metal gave out. Sometimes the spring looks whole but has uncoiled from its anchor point, which creates the same failure.
You have two repair paths. Many rewind springs can be replaced individually, which costs less but demands patience. The spring fights back as you seat it, and a slip can send it unwinding across your workbench. Replacing the whole recoil starter assembly avoids that fight entirely and often makes sense for a blower you plan to keep several more seasons. Either way, once the new part is in, test the rope pull before you bolt the cover back on. A smooth recoil tells you the fix took.
8. Inspect the Recoil Starter
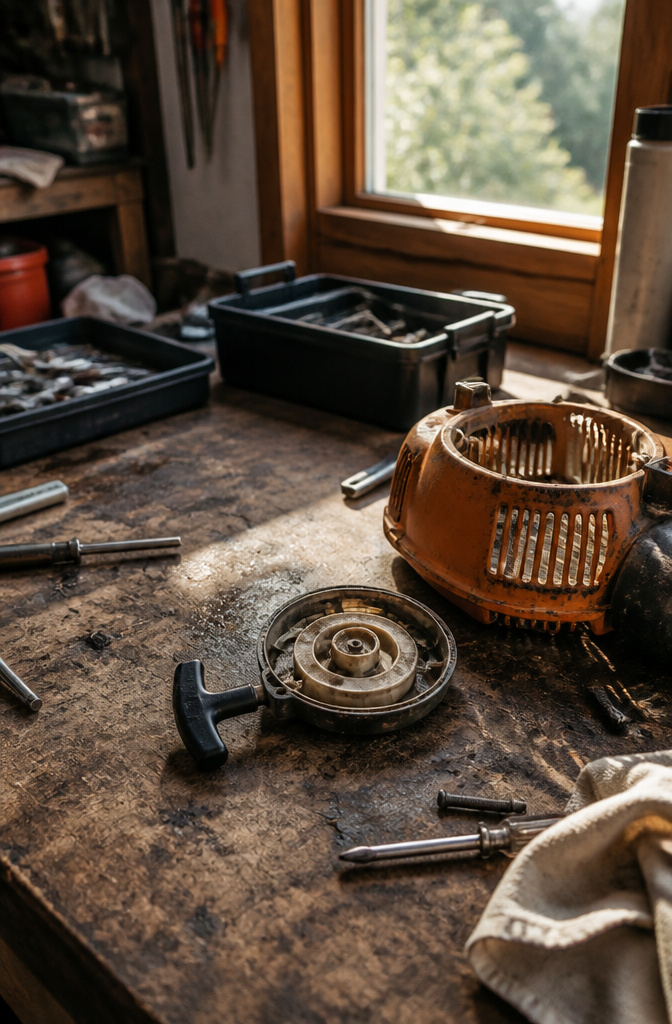
A recoil starter that spins freely without catching the engine is dead weight. Pull the rope and feel for resistance; if it moves like a yo-yo with no load, the pawls inside are not extending to grip the flywheel, or the spring has lost tension entirely. The rope refusing to retract back into the housing is another giveaway, usually meaning the rewind spring has snapped or slipped its anchor.
I have opened these assemblies expecting a single broken part and found the whole mechanism chewed up from grit and old grease. Replacing the entire recoil starter assembly is usually the smarter move rather than wrestling a new spring into a housing that may have cracked where you cannot see it. The pulley, the spring, and the pawls wear together, and a fresh unit bolts on with none of the alignment headaches. If the engine still will not turn over after a new starter goes on, the problem has moved deeper, and a repair shop becomes the practical next stop.
9. Clear a Flooded Engine
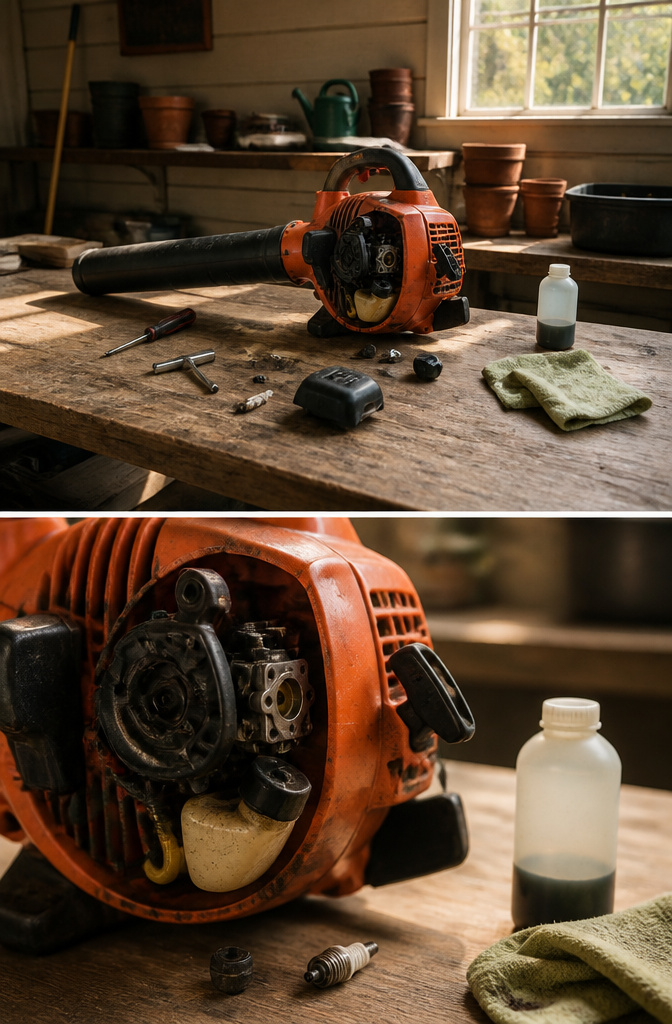
A strong gas smell when you pull the starter cord usually means the engine is flooded, not that you need more fuel. Pull the spark plug and hold it up to the light: if the electrode is wet, you’ve got excess fuel sitting in the combustion chamber.
Leave the plug out for a few minutes so the cylinder can air out. Some mechanics pull the starter cord twenty times or so with the plug removed to help clear the chamber, though simply waiting works if you’re patient. Dry the plug with a clean rag while you’re at it, or swap in a spare if you keep one around.
When you put everything back together, use fewer primer bulb pumps than you did before — one or two instead of five or six — and keep the choke open or set to run rather than cold start. The engine needs less help when it’s already wet with fuel. If it still won’t fire after a couple pulls, stop and let it rest again; repeated cranking just dumps more gas in and you’re back where you started.
Two-Stroke Versus Four-Stroke Fuel Needs
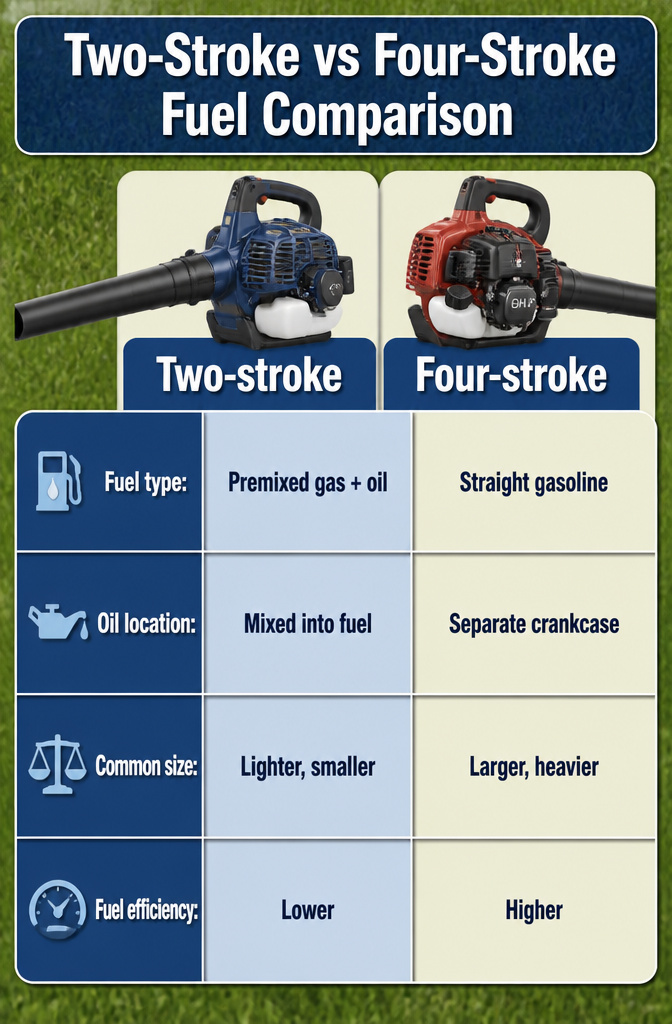
Two-stroke and four-stroke engines do not drink from the same cup. A two-stroke blower needs 50 parts gas to 1 part oil, which works out to roughly 2.6 ounces of oil per gallon of gas. Run it on straight gas and the engine seizes for lack of lubrication. Run a four-stroke on that premix and the oil fouls the spark plug, the carburetor gums up, and the thing will not fire.
| Two-stroke | Four-stroke | |
|---|---|---|
| Fuel type | Premixed gas + oil | Straight gasoline |
| Oil location | Mixed into fuel | Separate crankcase |
| Common size | Lighter, smaller | Larger, heavier |
| Fuel efficiency | Lower | Higher |
If your blower sat all winter with the wrong mix or stale fuel, the residue can restrict the carburetor. Empty the tank and start fresh with the correct fuel for your engine type. When in doubt, check the model number; two-stroke units still dominate the handheld market, but four-stroke models are common enough that guessing costs you a Saturday.
When to Clean Versus Replace a Part
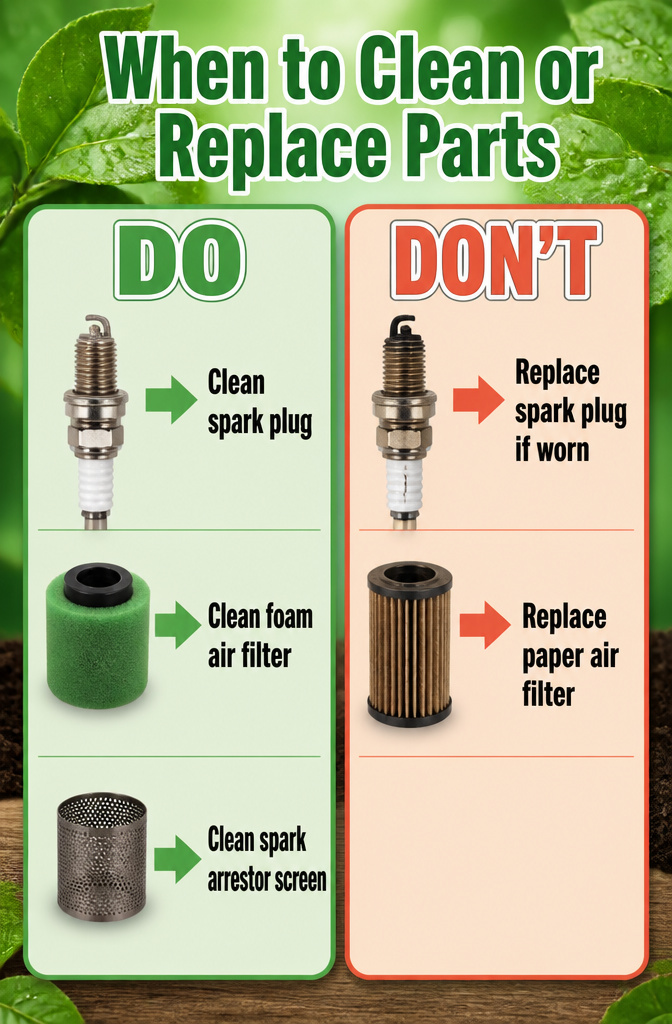
A dirty spark plug can sometimes be saved, and the math usually decides it. Cleaning takes a wire brush, a gap gauge, and twenty minutes of your afternoon. A new plug runs a few dollars and installs in two minutes. If the electrode is worn down or the porcelain is cracked, cleaning is a waste of time; replace it and move on.
Foam air filters are the exception that pays to clean. Soap, water, and a full day of drying, and the filter goes back in for another season. Paper filters do not recover; once they are grimy, they are done. The same logic holds for the spark arrestor screen inside the muffler. Soot scrubs off with a wire brush if the mesh is still intact. If the screen is too gummed up to see light through, or if it has started to break down, replacement is the only safe call.
What the Ignition Coil Does
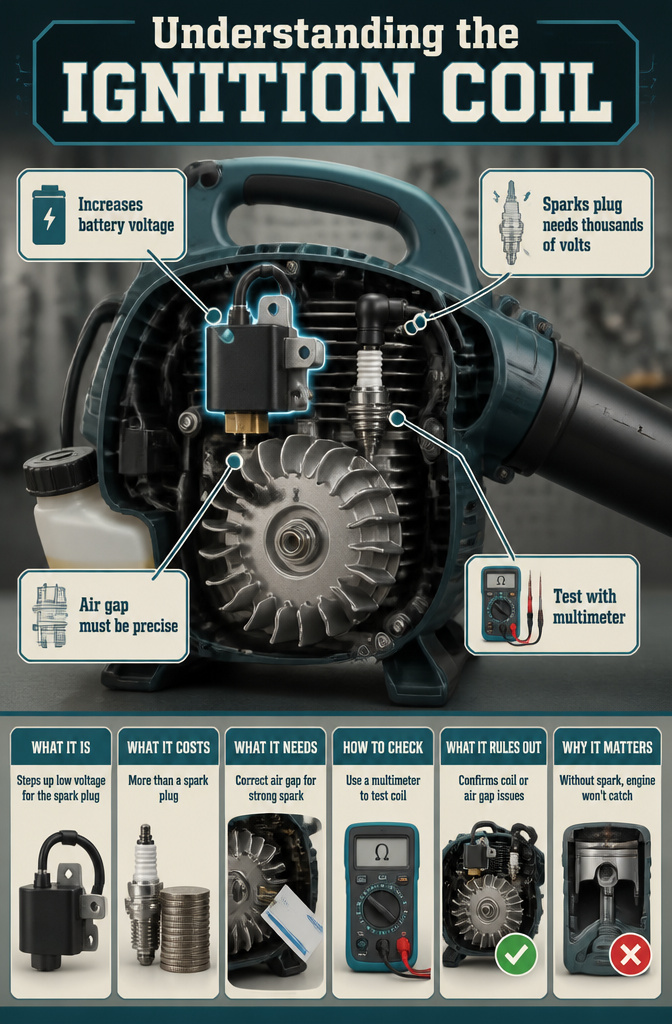
The ignition coil steps up the battery’s low voltage to the thousands of volts the spark plug needs to fire. Without that jump, fuel sits in the cylinder unburned and the engine turns over without catching. Most troubleshooting guides mention the coil after the spark plug for a simple reason: the plug is cheaper, easier to reach, and fails more often. Coil diagnosis means pulling the engine cover, setting a multimeter to ohms, and comparing your reading against the manual’s spec. The air gap between coil and flywheel matters too; if it widens past what the manufacturer set, the magnetic field weakens and spark drops off even when the coil itself is fine. That gap runs about the thickness of a business card on most machines, a handy reference when you have left the feeler gauge in the garage.
Frequently Asked Questions
Why won’t my leaf blower start?
The most common culprits are old fuel, a clogged carburetor, or a bad spark plug. Gas left sitting for 30 days or more starts to break down, and after six months it turns into sludge that gums up fuel lines and jets. Check these three systems first before moving on to the air filter, fuel filter, or ignition parts.
How do I fix a flooded leaf blower?
Pull the spark plug and let the cylinder air out for a few minutes. If the electrode is wet, dry it with a clean rag or swap in a spare plug. When you restart, use only one or two primer bulb pumps instead of five or six, and keep the choke open or set to run rather than cold start. Repeated cranking just dumps more fuel in and makes the problem worse.
What is the correct fuel mixture for a two-stroke leaf blower?
Mix gas and oil at a 50:1 ratio, which equals about 2.6 ounces of oil per gallon of gas. Two-stroke engines need this premix for lubrication; run one on straight gas and the engine will seize. Four-stroke engines take straight gasoline with oil in a separate crankcase, so check your model number if you are unsure which type you own.