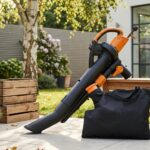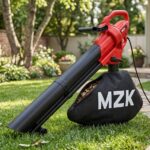

A leaf blower saves an afternoon of raking for the price of $30 to $300 and about twenty minutes of learning the controls, but most people still burn through batteries or fuel faster than the job requires. The mistake happens before the motor ever starts: wet leaves and a crosswind can triple the work, while the wrong nozzle turns a flower bed into bare soil in one pass. The flat, narrow nozzle concentrates air to 300 mph, enough to scar bark and blast gravel into siding, which is why checking the forecast and swapping attachments matter more than throttle setting.
1. Charge or Fuel Up and Inspect the Blower
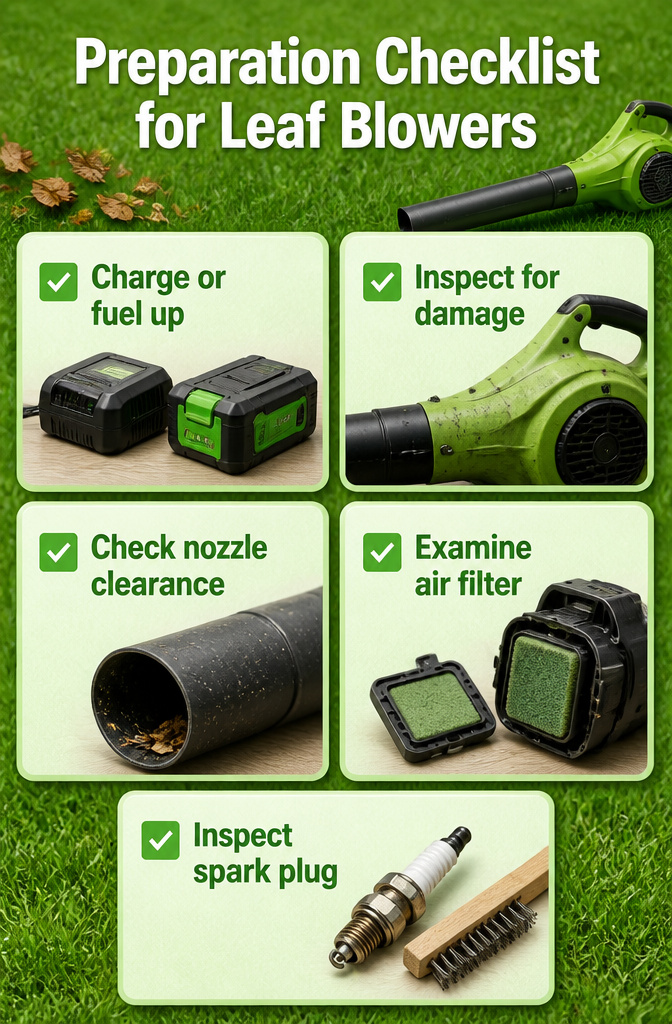
- Charge or fuel up before you step outside. Battery-powered blowers typically run about 30 minutes per charge on moderate settings, so having a second battery ready keeps you from stopping mid-job. Gas models need the same attention: check the tank and top off before you start, because nothing wastes a morning like running dry halfway across the yard.
- Inspect the whole blower for wear or damage. Look for loose screws, cracked housing, or anything that rattles when you shake it. A two-minute scan now saves you from a blower that dies ten minutes in or throws debris where it should not.
- Check and clean the nozzle. Leaves, mud, or last season’s grit can clog the opening and choke airflow. Pull off what you can see, run your finger through the throat if the design allows it, and make sure the path is clear before you attach it back on.
- For gas blowers only, pull the air filter and look it over. Wash a foam filter with mild soap and water, let it dry completely, then seat it back in. Swap paper filters when they are dirty enough to gray out, not after they are fully clogged. Same for the spark plug: brush off buildup or replace it if the electrode is rounded or burned.
2. Wait for Dry, Calm Weather
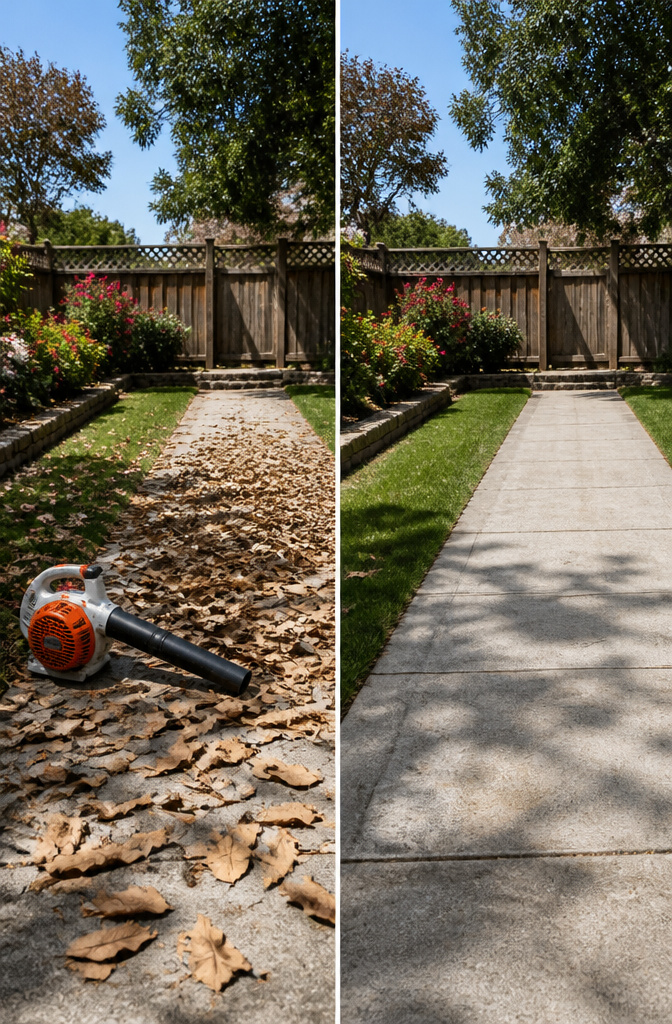
Dry leaves lift and scatter with almost no resistance, which is exactly why timing your session for calm, sunny weather is the single biggest efficiency move most people skip. Wet leaves mat together, stick to pavement, and can double or triple the time a job takes. A cordless blower’s battery drains faster fighting that weight, and wet material can clog a vacuum tube outright if your machine has one.
Wind direction matters too, though not the way I first assumed. A stiff breeze turns the work into a tug-of-war; even a light crosswind sends your neat line of leaves into garden beds you just cleared. What actually works is waiting for near-still air, then using whatever slight natural drift exists to carry debris away from the areas you want to keep clean. The drier the leaves and the calmer the day, the lower you can run the throttle, which saves power and keeps the noise down for anyone working nearby.
3. Pick the Right Nozzle for the Job
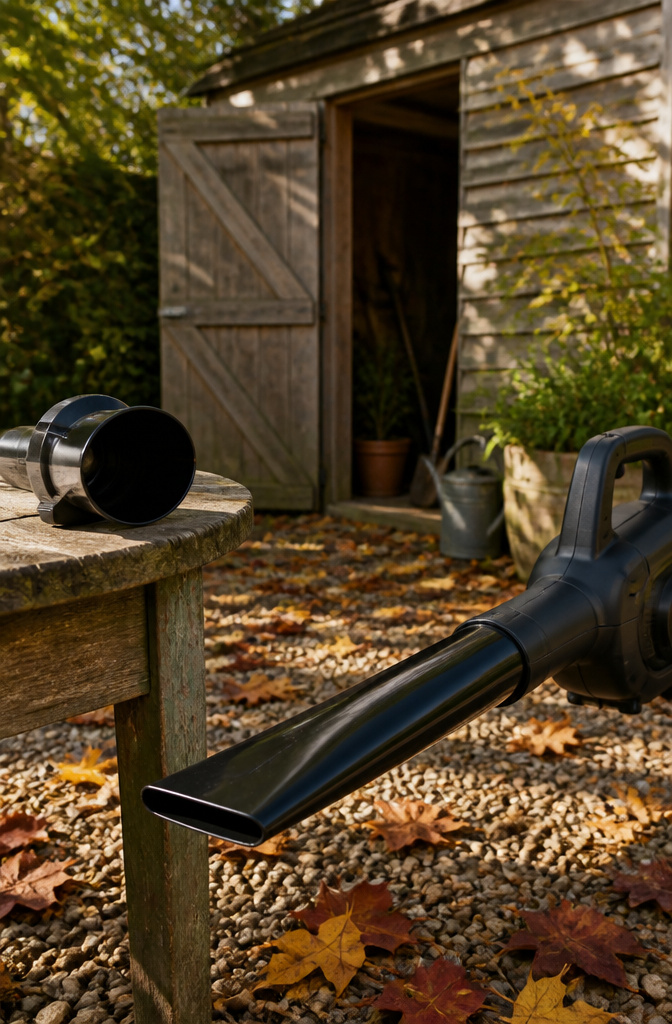
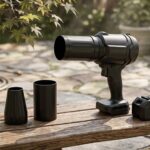
Most blowers ship with two nozzles, and swapping between them takes about ten seconds once the tube is cool. The flat, narrow nozzle concentrates the airstream into a blade that lifts wet leaves packed against fence lines or the edges of driveways. That same focused jet will scar soft bark or blast mulch out of beds, so I keep it off planting areas entirely. The round, wide nozzle spreads the airflow across a broader path and moves dry material efficiently without the aggression. For general yard clearing, this is the one I start with.
The shape changes how the blower handles, not just what it moves. The flat nozzle adds reach and kickback; the round one sits closer to the ground and tracks steadier in a sweep. Picking the right one before you start matters more than adjusting speed later, because the nozzle sets the physical relationship between you, the machine, and the debris.
4. Set the Airflow to Match the Surface
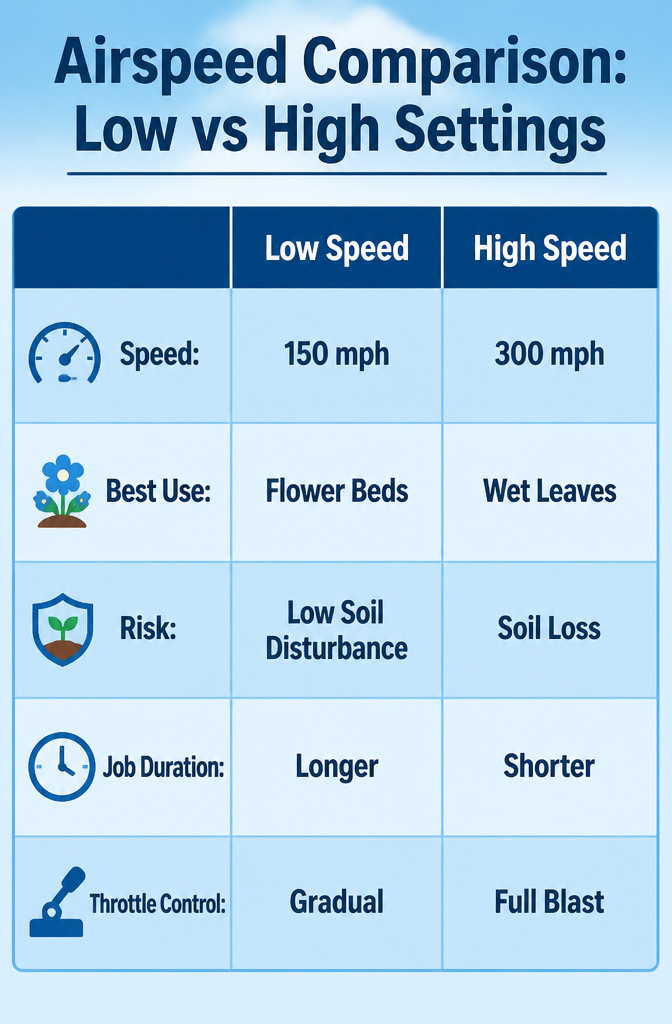
A leaf blower’s airspeed can run anywhere from 150 to 300 miles per hour depending on the model, and that spread matters more than most people think. Low speed belongs around flower beds and anywhere the soil is loose; the blast from high settings will strip mulch, expose roots, and send gravel pinging off siding. I learned this the hard way one October when I cleared a bed of dried leaves and took half the topsoil with them.
Save the upper end of your blower’s range for wet leaves, packed debris, and wide open lawn where nothing fragile sits downwind. Gas-powered units tend to sit at the higher end of that 200–300 mph range, while most corded or battery compact models top out closer to 250. Either way, resist leaving the throttle wide open the whole session. You’ll burn through a battery in minutes, and the cleanup from scattered stones and shredded annuals takes longer than the blowing did. Drop to low speed near borders and hardscape, then dial up only when the job actually calls for it.
5. Blow With the Wind, Low and Sweeping
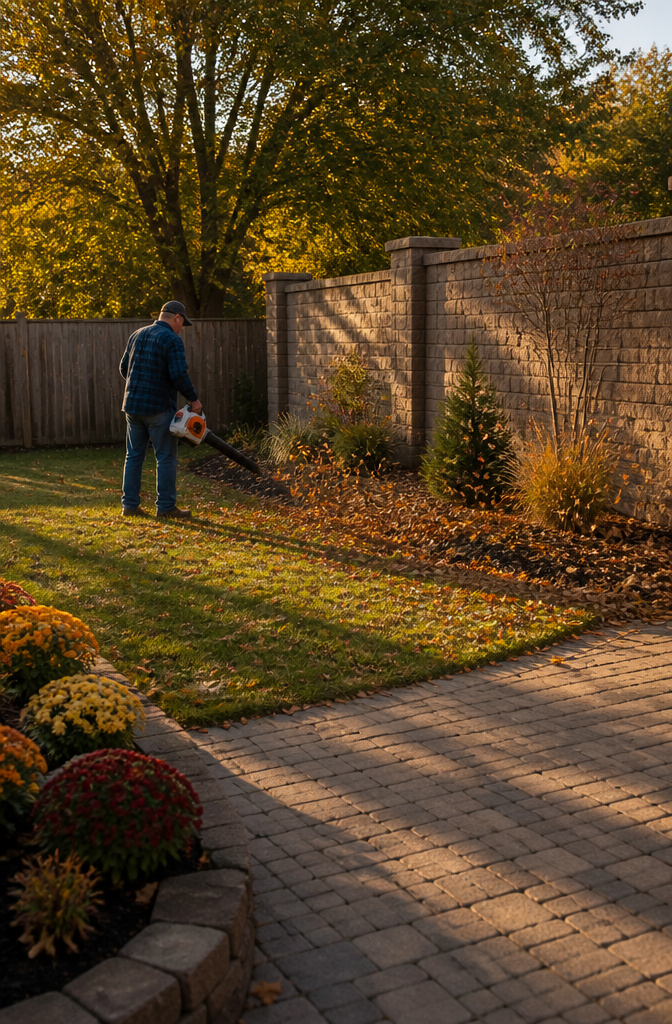
- Check which way the wind is moving before you start, then blow with it, not against it. Leaves travel farther on the same gust, and you spend half the battery fighting a headwind.
- Keep the nozzle low and close to the ground, maybe six inches up. A steep angle just launches debris and sends mulch into the flower beds.
- Use a sweeping motion, working side to side like a broom. Short, choppy bursts scatter leaves; a steady arc pushes them in a clean line.
- Let buildings do some of the work. Aim just above leaves piled against a wall so the air rebounds and carries them out into the open yard.
- Drop to low speed around gravel or landscaped beds. Full throttle turns a path into a spray of stone, and the cleanup takes longer than the blowing.
- Along fences, hold the barrel parallel to the line and sweep from the fence back toward your lawn. Chain link lets leaves through to the neighbor’s side if you blast straight at it.
6. Herd Leaves to a Pile and Collect
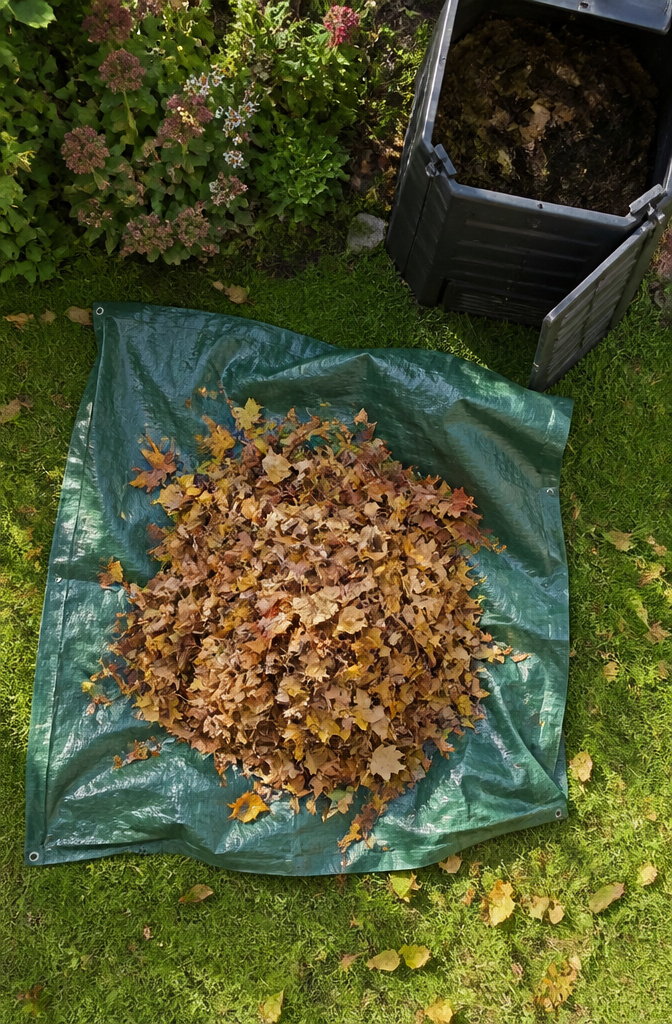
A tarp changes everything. Last fall I watched my neighbor try to bag leaves straight off the grass, and the wind kept stealing them back one handful at a time. She gave up and left the pile for three days. By then it had rained, and the leaves weighed twice as much.
Work in sections, blowing leaves toward a central pile with the nozzle low and the motion steady. Once the bulk gathers, lay a tarp flat beside it. Tilt or drag the pile onto the tarp in one move, then pull the corners together for carrying. A 6-by-8-foot tarp holds roughly what three lawn bags would, and you can dump it straight into bags or a truck bed without the scatter.
The job ends when the leaves leave the property. Compost them, mulch them, or bag them for municipal pickup, but a neat pile on the lawn is not a finished afternoon. It is an invitation for rain, wind, or both to undo your work.
What to Wear and Keep Clear
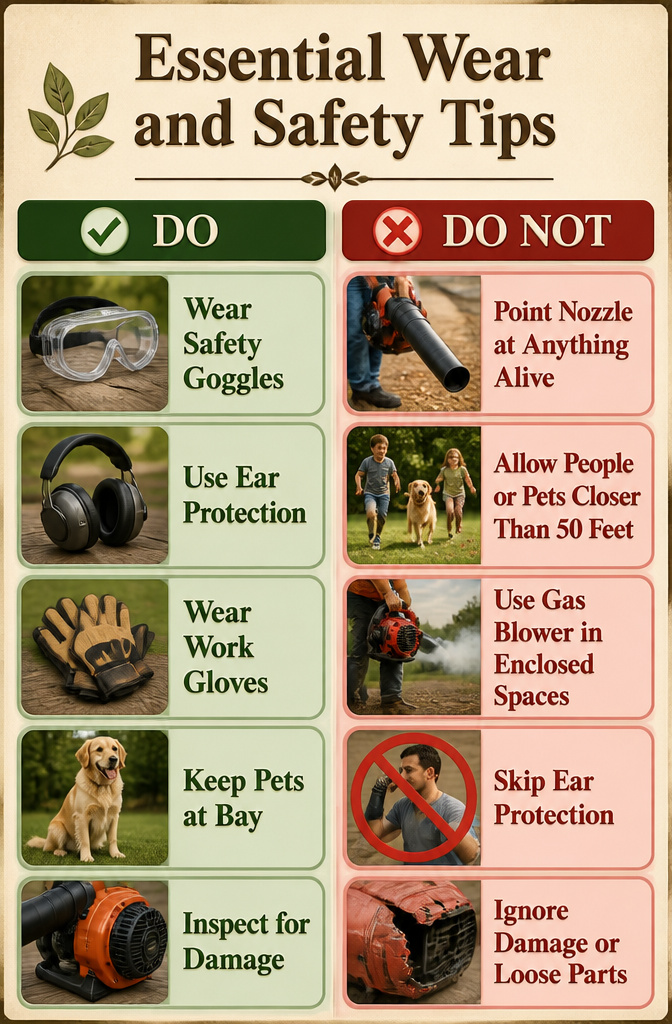
A leaf blower turns sticks, gravel, and dust into projectiles faster than most people expect. The gear list is short, and each item earns its place.
- Safety goggles are non-negotiable. Debris flies upward and sideways, not just forward, and a single twig to the eye can end the afternoon.
- Ear protection matters most with gas-powered models, which hit 90-plus decibels from 50 feet away. That is loud enough to damage hearing in under two hours. Cordless electric blowers run quieter, but I still reach for earmuffs out of habit.
- Work gloves with padding save your hands from sharp sticks and the vibration of the throttle. Add long sleeves, pants, and closed-toe boots with good tread for damp leaves.
- Keep people and pets at least 50 feet back while the blower runs. The nozzle never points at anything alive, including yourself. Gas models also need open air; their exhaust carries carbon monoxide and benzene, so I only run them outdoors and stay upwind of the cloud.
- A quick damage check before starting takes thirty seconds. Cracked housings or loose parts can break off and launch, which is why the U.S. Consumer Product Safety Commission flags it as a real hazard.
Gas, Battery, or Corded Electric
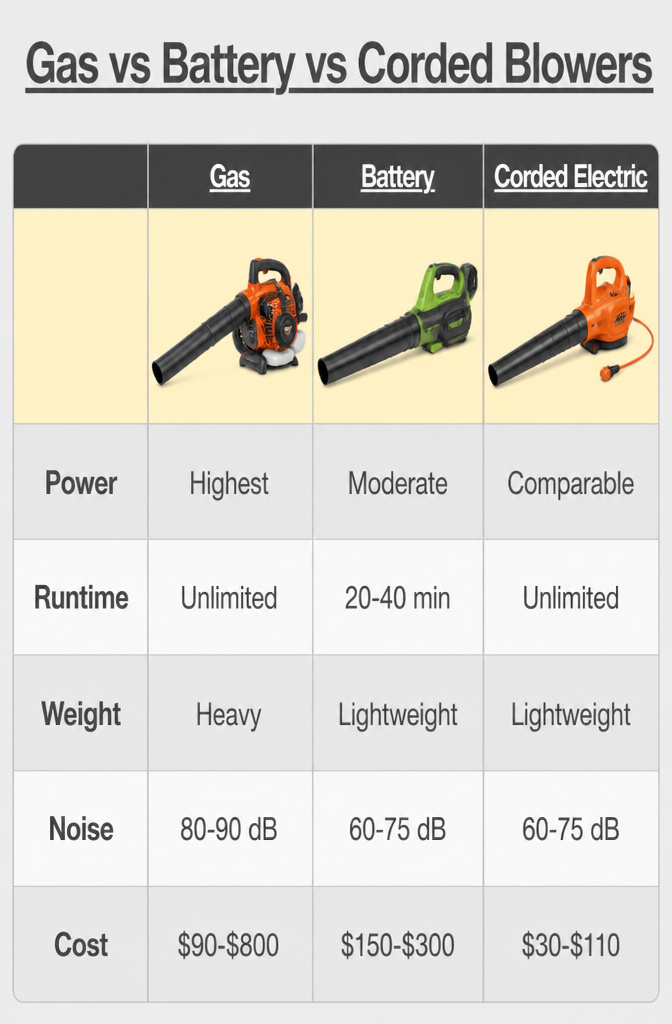
Gas blowers move the most air and clear wet leaves fastest, but that power comes with a 80–90 dB whine that carries across property lines and has drawn bans in more towns every year. Battery models run quieter, usually 60–75 dB, and let you walk anywhere without tripping over a cord. The catch is runtime: most batteries tap out around 20–40 minutes, and plan on two batteries for anything larger than a quarter-acre. Corded electric matches that same quiet band and avoids the recharge wait entirely, yet the cord tethers you to the house and tangles in shrubs. For a small yard or patio, that tradeoff is often worth it.
| Gas | Battery | Corded Electric | |
|---|---|---|---|
| Power | Highest air speed and volume | Less than gas or corded | Can match gas power |
| Runtime | Unlimited with fuel | 20–40 minutes typical; some up to 90 minutes | Unlimited while plugged in |
| Weight | Heavy | Often under 10 lbs | Lightweight |
| Noise | 80–90+ dB | 60–75 dB (quietest) | 60–75 dB |
| Cost | $90–$800 | $150–$300 | $30–$110 |
I would skip gas unless your lot is large, heavily wooded, and free of close neighbors. Between the other two, corded wins for a tidy town lawn you can reach with a 100-foot extension; battery wins for stairs, slopes, or anywhere the cord would fight you.
Keep the Blower Running for Years
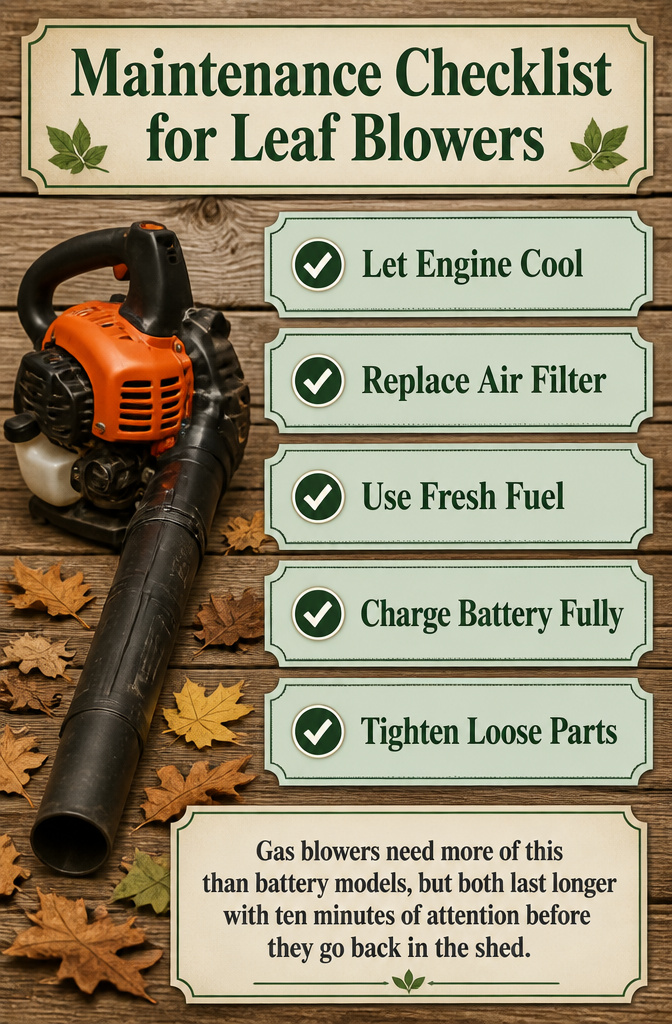
A blower that starts hard or runs weak usually has old fuel, a dirty filter, or loose parts. The fix is a short routine after each season.
- Let the engine cool, then store the blower somewhere dry with air moving through it. On gas models, drain the tank or add stabilizer so the fuel does not gum up over winter.
- Clean or replace the air filter often. Weak airflow is the first sign it is clogged.
- Use fresh fuel and the exact oil-to-gas ratio the maker lists. Inspect the spark plug once a year and swap it if the electrode is worn or fouled.
- For battery blowers, charge the pack fully before storing it, and keep it in a dry place. Check power cords on corded models for nicks or exposed wire.
- Tighten screws and bolts before they rattle loose. Clean the cooling fan and vents after each use so the motor does not overheat.
Gas blowers need more of this than battery models, but both last longer with ten minutes of attention before they go back in the shed.
Work in Sections, Respect the Neighbors
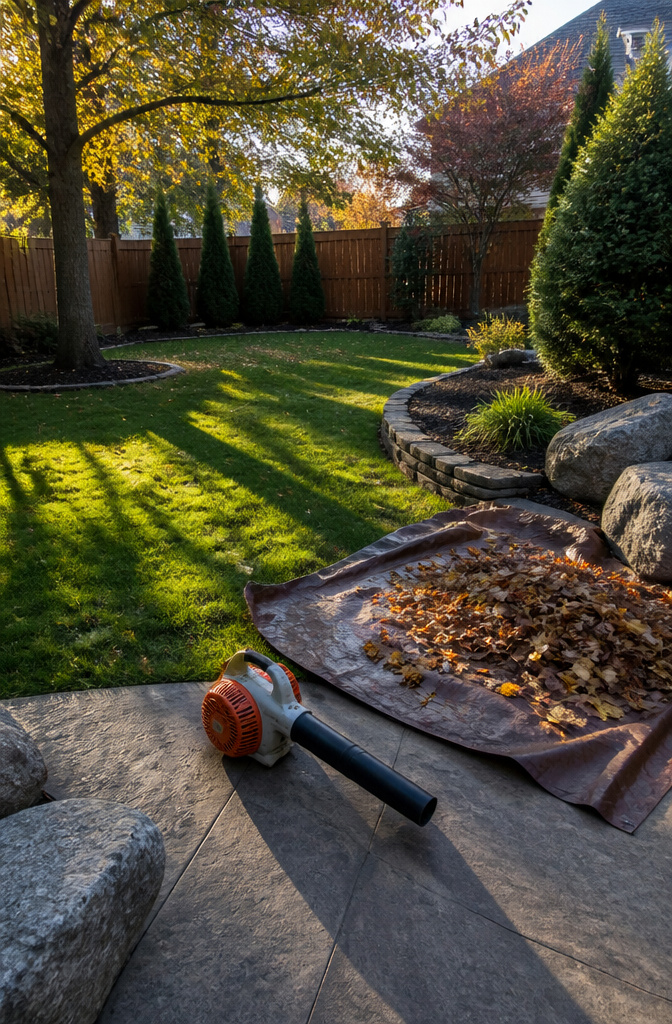
Working in sections keeps leaves from scattering before you collect them. I break my yard into quarters and blow each into its own pile rather than chasing a single mound across the property.
- Work with the wind, not against it. A light breeze at your back carries leaves where you want them; fighting it wastes battery and patience.
- Wait for calm conditions if you can. Gusts turn neat piles into lawn confetti, and wet leaves after rain are heavier and harder to move.
- Start at property lines. Stand on your side and blow leaves 8 to 10 feet inward so nothing drifts next door. If you need to step onto a neighbor’s grass to do this, ask first.
- Build small piles on tarps or old sheets in each section. A sheet corners dragged to the compost heap beats bagging twice.
- Stick to daylight hours. Early mornings and late evenings with a blower strain the tolerance of anyone sleeping nearby.
Frequently Asked Questions
What is the best time to use a leaf blower?
Wait for dry, calm weather. Dry leaves lift with almost no resistance, while wet leaves mat together and can double or triple your work time. Even a light breeze sends your neat line of leaves into garden beds you just cleared, so near-still air lets you run a lower throttle, save power, and keep noise down.
How do you maintain a leaf blower?
After each season, let the engine cool and store the blower somewhere dry. On gas models, drain the tank or add stabilizer so fuel does not gum up over winter. Clean or replace the air filter often; weak airflow means it is clogged. Inspect the spark plug once a year and swap it if the electrode is worn. For battery blowers, charge fully before storing, and keep the pack in a dry place. Tighten screws and bolts before they rattle loose, and clean the cooling fan and vents after each use so the motor does not overheat.
Can you use a leaf blower for anything besides leaves?
Yes. You can also clear grass clippings, light snow, and even dry your car after washing. Only the most powerful blowers fit car drying well, and you should always check your manual for safe uses. Some models take a vacuum attachment to collect debris instead of pushing it around.